Sour Cream Coffee Cake... or Sometimes 'unplanned' is ok

 Here's the thing though, if I hadn't been waffling about what I would make, if I had actually planned ahead, if I hadn't been lazily surfing the food-web... well... I never would have tried this recipe and that, my peeps, would have been some kind of tragic.
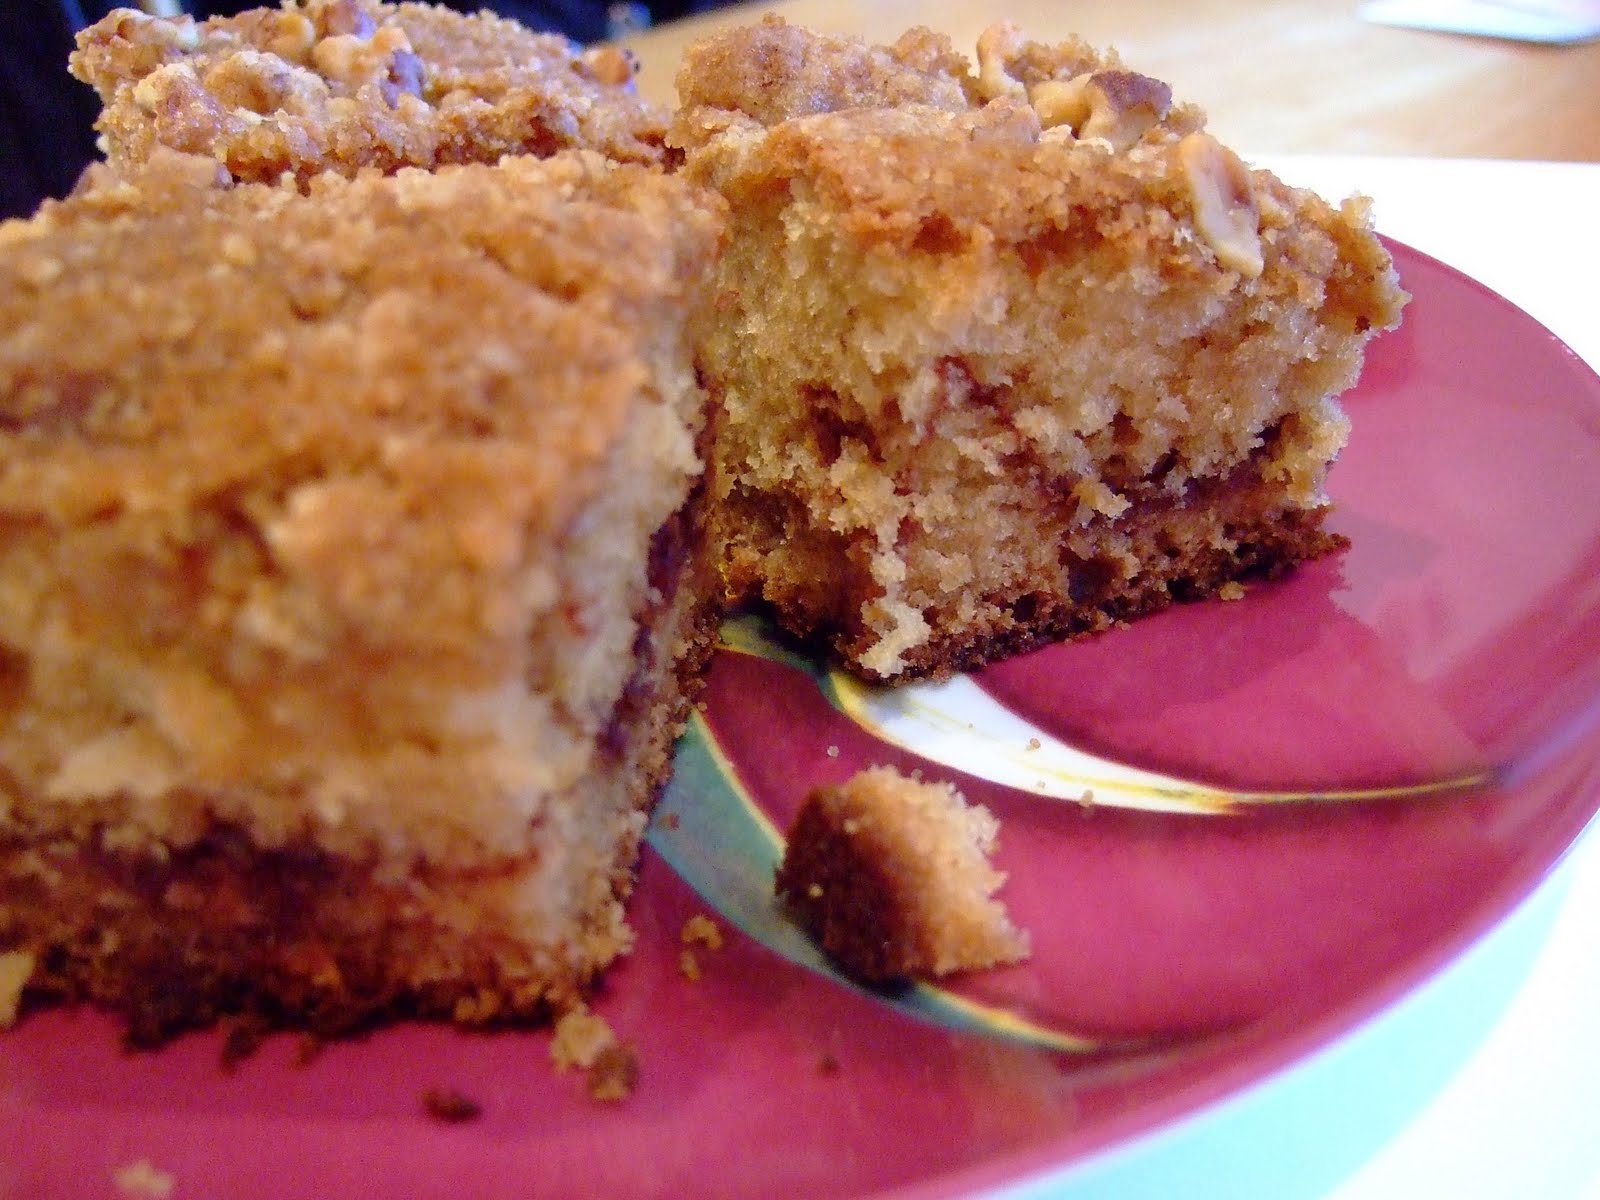
I don't know why exactly, but it's blowing my mind. I love the texture, the cake is soooo spongy and RIGHT. Perfect crumb, crunchy topping. Yes, definitely everything that you could ever wish for in a coffee cake.
The recipe called for a 9x13 pan which was just too much for me (although after tasting this sucker, I'm not so sure!) so, I halved it with great success. I will give you the full version here though.

Sour Cream Coffee Cake
adapted from Lottie + Doof (from 'Baked')
Crumb Topping
2/3 cup all-purpose flour
2.3 cup dark brown sugar
1/2 tsp salt
2/3 cup toasted pecans (I used walnuts - unfortunately too late I found pecans in the freezer)
5 tbsp cold butter to cut into above
Swirl
1/2 cup sugar
1 tsp dark cocoa powder (although I omitted this entirely)
1 1/2 tsp cinnamon
Cake
3 1/2 cups all-purpose flour
1 tsp baking powder
1 1/2 tsp baking soda
1/2 tsp salt
1/2 up butter at room temperature
2 cups sugar
4 large eggs
2 cups sour cream
1 1/2 tsp vanilla extract
Preheat the oven to 350 degrees F. Butter a 9x13 inch baking pan.
For Topping:
Combine all ingredients in a food processor and pulse until it's the texture of coarse sand. What I did was leave the walnuts chunky and just mix everything well, cutting the butter in until it was incorporated evenly. Refrigerate until needed
For the swirl:
Combine all the ingredients in a bowl and set aside.
For the Cake:
Cream together the butter and sugar until light and fluffy. Gradually add in the eggs, one at a time until well incorporated. Add in the sour cream and the vanilla and mix well.
In a separate bowl, mix together the flour, baking powder, baking soda and salt until combined. Add the flour mixture to the butter mixture until well incorporated but be careful not to over mix (especially if you are using an electric or stand mixer).

Put approximately half of the cake batter into the prepared pan and spread fairly evenly. Sprinkle the sugar swirl over the cake batter in the pan and cover with the remaining batter (try to get the batter spread out as evenly as possible). Sprinkle the topping over the batter in the pan. Bake for about an hour (although I would check after about 50 minutes just in case) or until a cake tester comes out clean.
Cool in the pan for about 30 then cut and serve.
Finally... Pork Stew... and a new Pute!

I am writing my post from my wireless keyboard that is not attached (!) to my new imac. This is crazy. I've never had my own computer before, at least not my own NEW computer - what a thing. My imac is smokin'. Wireless mouse, wireless keyboard, it's fast, I'll now be able to skype using live camera... the list goes on. Ok, I'd love to give you all the specs but I don't actually remember what they are, nor do I care. It's fierce and I'm ecstatic! (and broke)
Speaking of fierce, this pork stew is da bomb! It's been quite a week for me. I'm still not fully recovered from my chaperoning stint and had to fly right back into a busy week of work. Didn't have time to properly get groceries and have been wingin' it like mad. (I definitely need some Yoga in my life this weekend).
So, pork tenderloin was in the freezer and it was time to get creative. I've adapted this recipe from Canadian Living magazine. The original called for Lamb which I didn't have. I did have Lima beans but I think that in a pinch white kidney or even navy beans would work. I also added some of my beloved smoked paprika as well. I love how adaptable this recipe is though, you could use beef chuck, lamb, pork even goat would work well. The stew will also take some different spice combinations and become a completely different dish. The result though is always comforting and satisfying.

Lima Bean and Lamb (Pork Tenderloin in this case) Stew
adapted from Canadian Living
(serves a bus but is easily halved)
3 lbs boneless leg of lamb
1 onion, chopped
1 rib of celery, chopped
3 cloves of garlic, minced or crushed
3 cups of something leafy and green (spinach, chard - you get the picture) cut small and thin
1/2 tsp each salt, cumin, coriander, smoked paprika and ginger
1/4 tsp each turmeric, cinnamon, ground cardamom
dash of pepper
pinch of saffron, cayenne, ground cloves
1 cup of bean liquid or broth
1 can whole or diced tomatoes
2 strip of lemon rind (optional)
3 cups Lima beans (about 2 cans)
fresh parsley (I also used fresh chives and fresh oregano - from the garden!!!)

Cut the meat into 1 - 1.5 inch cubes. Heat a large Dutch oven and add some oil once heated. Saute the onion, celery and garlic until the onion is transparent. Add in the meat and brown with the veggies. Once browned add the beans and mix well.

Add in the spices and mix well. Once mixed add the tomato and bean liquid. Add in the fresh herbs and throw in the lemon rind and let the mixture simmer for at least half an hour.

Serve over couscous or rice (ok, I know that I should use brown here people but I'm having some issues with the fam not liking the brown rice!!!)
Cream sauce in a daze

I have vegetables, LOTS of vegetables. I'm complete flyin' by the seat of my pants and my brain is in fuzz mode. I start chopping, I start slicing some cherry tomatoes, I throw them into the oven drizzled with olive oil and fleur de sel. I rummage through the fridge and find something, anything. What ends up happening...
Tomatoes get roasted...

Veggies get cooked...

Milk gets added along with a smidgen of cream cheese and parmesan cheese...
1 small onion, chopped
3 cups of chunky sliced mushrooms
1 small zucchini, sliced
3 cloves of garlic, minced/crushed
3 cups of greens (chard, spinach, etc)
2 cups of roasted cherry tomatoes
(halve the tomatoes, coat with olive oil, place on baking sheet, sprinkle with course salt, roast for 25 min)
1 small bunch of chives (it is spring! They're in the garden)
1/4 cream cheese
1/2 cup parmesan cheese
4 cups milk (you could also use a mixture of wine and milk or cream)
salt
parsley
basil (fresh would be great)
Heat a large pan, add some olive oil (about 2 tbsp or so).
Saute the onion, mushrooms and zucchini until soft. Add the garlic and saute a couple of minutes. Add the greens and chive and saute until wilted. Add the cheeses until melted in and then add the milk. Add all the seasonings and check for taste.

Serve with some pasta (I used green fettucine).
Pray that at some point you'll remember what it felt like to think clearly.
Apple Bread

I took today off to revive and I would say that I'm about half way there. However, everybody needs to eat... and snack too. After a week of fast food (ok, subway was the lowest I could go, beyond that it was starvation by choice), buffets (in the U.S I learned that buffet means something quite different than in Canada) and eating while on the run, I am soooooo ready to relax with some good meals and comforting snacks.

I LOVE THIS BREAD!!!
This bread never fails. It tastes fantastic, the texture is exactly what you want from a quick bread (not too dry, not too wet) and it lasts well. I found this recipe in the 'More With Less' cookbook. It is simple and easy. What I have started doing is, if I know that I'm not going to get through my apples before they go bad, chopping the apples up and putting them in the freezer, bagged in the right portion and ready to go. Just make sure (if you use frozen) that you drain them before putting them into the bread batter.
This bread is going to help me recuperate from my first St Michael's tour For Sure!!!

Dutch Apple Bread
(More with Less)
Makes 1 loaf (I used a smallish loaf pan)
Preheat oven to 350 degrees F.
Cream together:
1/2 cup unsalted butter
1 cup sugar
Add and beat well:
2 eggs
1 tsp vanilla
Combine separately:
2 cups all purpose flour
1 tsp baking soda
1/2 tsp salt
Add dry ingredients alternately with:
1/3 cup sour milk or orange juice
(I used just under 1/3 cup O.J. and didn't have milk so I put in 1 tbsp of sour cream as well)

Fold in:
1 cup chopped apples (not delicious though)
1/3 cup of toasted walnuts (I skipped this though)

Bake in a greased and floured 9x5 inch loaf pan for about 50 minutes (might need 55 min. but check at 50)
Caramel Apple Cake... an experiement

I decided to try this cake from one of our revered Canadian institutions - Canadian Living Magazine. I've read reviews of these kinds of recipes and it seems that they can go either way. Sometimes the caramel gets a little sketchy and it can leave you with a top that is too crunchy and hard. I think keeping an eye on the baking time helps that a little. If you can get it right, it's a very tasty little treat. I'll tell you though, it's certainly no 'thing of beauty' in my opinion.

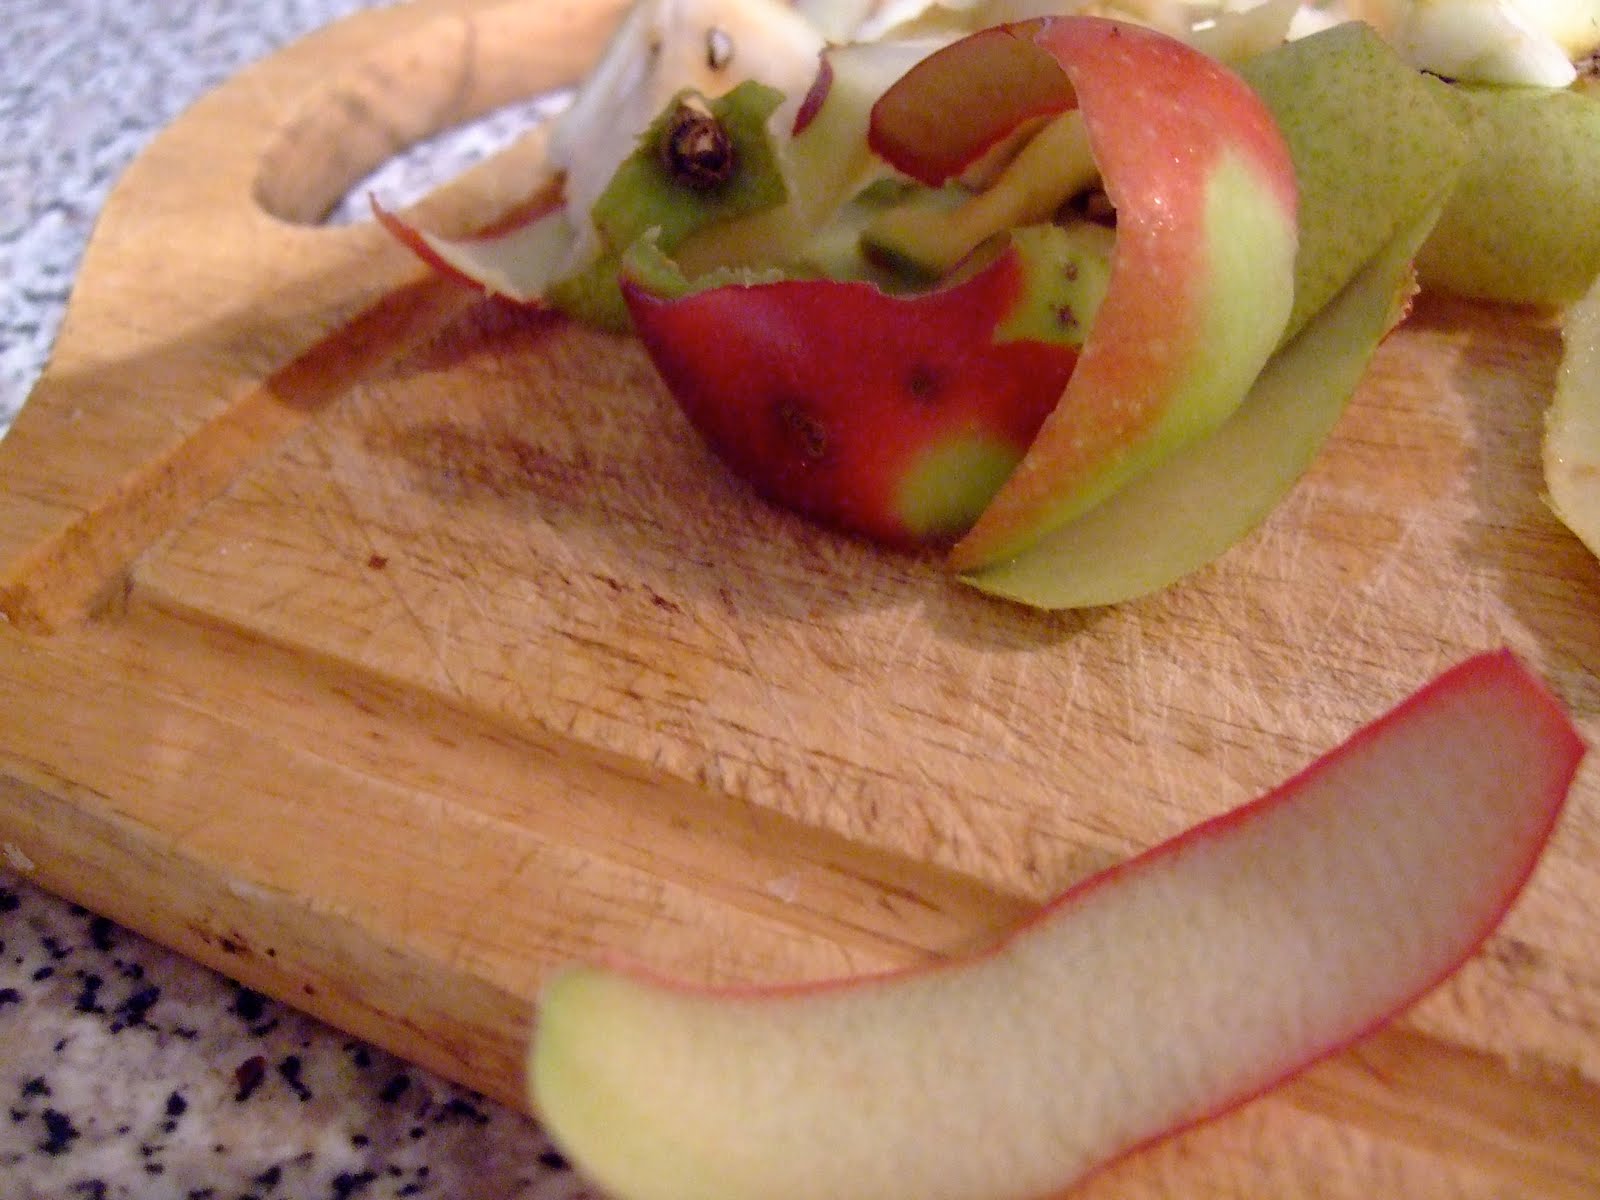
As usual, I didn't have all the ingredients that the recipe called for. I only had two apples and a pear. The apples were quite small and I think, in the end, more apples (or pears because honestly they were a nice addition!) would have helped the presentation a bit. I also didn't have any lemon in the house and I didn't notice the absence at all.
The title sounded a lot more exciting than the humble little cake looks when you are done with it. Like I said though, it is tasty. I whipped up some cream as well to serve on the side, although some vanilla or caramel ice cream would be just a welcome.


Caramel apple upside-down Cake
(adapted from Canadian Living)
2/3 cup granulated sugar
1 tbsp lemon juice

4 lg apples
1/4 cup unsalted butter
Cake:
1/2 cup unsalted butter
1/3 cup gran. sugar
1/3 cup brown sugar
2 eggs
1 tsp vanilla
1 3/4 cups unbleached all-purpose flour
1 1/2 tsp baking powder
1/2 tsp baking soda
3/4 cup milk
In heavy saucepan stir granulated sugar with 1/4 cup of water over medium heat until dissolved. Bring to a boil and continue to boil vigorously for 6 - 10 minutes or until the mixture becomes dark amber (Just a note here: I boiled mine for more like 12 minutes and when

it started to change colours, it changed very quickly. Be ready to take it off the heat quickly and get it into the pan. Also, it will smell a bit burnt - you are literally burning the sugar after all!). Add the lemon juice (which I didn't have) and Pour into 9 inch round metal cake pan (I would also put some parchment on the very bottom - cut in a circle of the same size - just to make it easier to take it out of the pan).
Pell, core and slice apples into medium thickness slices. In a skills, melt butter over medium heat and cook apples until tender and golden. Arrange the apples in the caramel mixture.
In a large bowl combine the flour, baking powder and baking soda. Set aside.
In another bowl beat butter with granulated sugar and brown sugar until light. Beat in the eggs, one at a time until they are well mixed. Add in the vanilla and mix well.
Add the flour and milk alternately in about 3 batches - beginning and ending with the flour - to the butter mixture. Spread over the apples.

Bake for about 40 minutes (check after about 35 minutes just to be safe). Once finished, invert onto cake plate but wait for about 5 minutes to remove the pan (I used a springform which made this a little easier).
Not a bottle blond.

 How could you go wrong really, chocolate of multiple varieties, nuts, sugar, eggs - sounds good to me. It appealed my peeps (kind of like 'the Dude abides' - The Big Lebowski' for those of you unfamiliar) and I'm kind of surprised that it did. Maybe my own tastes are changing! Ah, I'm not going to over-analyse this and just enjoy. I think that I'll take some of these little beaut's with my on my seriously long work road trip (on a bus with 120 teenage boys - did I mention that before????!!!!). I'm sure that they will help me through.
 Blondies with White and Dark Chocolate Chunks
(The complete Magnolia Cookbook)
1 1/2 cups cake flour (not self-rising)
1 tsp baking powder
1/4 tsp salt
3/4 cup unsalted butter at room temperature
1 cup brown sugar
1/2 cup sugar
2 lg eggs room temperature
2 tsp vanilla
1 cup coarsely chopped walnuts
3/4 cup coarsely chopped white chocolate (good quality - I used Lindt)
1/2 cup coarsely chopped Dark Chocolate (above 60% cocoa solids)
 Preheat oven to 350 degrees F
Butter and grease a 9 inch round cake pan (I used springform)
In a small bowl combine the flour, baking powder and salt. Set aside
In a larger bowl, cream the butter and sugars until smooth and fluffy. Add the eggs and vanilla and beat well. Add the dry ingredients to the butter mixture and mix thoroughly.
 Sitr in the walnuts and chocolate chunks. Spread the batter evenly in the baking pan. Bake for 35 - 40 min. or until a tester comes out clean. Do not overbake!
Allow to cool and serve.
Poppy Seed Cake... and a Big Bus

I wish that I could take this cake with me. There is something homey about it. It's neither sweet nor heavy which makes for an interesting thing. I would call it a loaf but it doesn't exactly have a 'loafy' texture. It's quite perfect just the quaint way it is. Nothing flashy, loud or attention seeking but beautiful and mellow.

I've had my eye on the recipe for a stupidly long time, don't know why I never got around to trying it... makes no sense. What makes this recipe a little different than the straight up poppy seed loaf varieties is that the poppy seeds are soaked in scalded milk for about 20 minutes or so. As a result, the poppy seeds aren't as crunchy. I found that the recipe called for a truck load of poppy seeds but when they are soaked they blend into the texture of the cake much more easily. I played with the glaze a little bit and you'll see in the pictures that the cake ended up having little pieces of citrus on it - ah well, it tastes good! AND it does taste good. It is mellow and understated, perfect for afternoon tea or after-school snacks. Not the kind of cake that will blow the socks off your dinner guests but just the kind of cake that will satisfy that afternoon snack craving!

Ukrainian Poppy Seed Cake
(adapted from Moosewood Cookbook)
3/4 cup poppy seeds

1 cup milk (I used just under a cup though)
1 cup unsalted butter at room temperature
1 cup sugar
3 eggs
2 cups flour
1 tbsp baking powder
1 tsp baking soda
1/2 tsp salt
1 tsp vanilla
3 tbsp lemon juice
1 tbsp lemon rind (I used a tangerine that needed using)
Glaze
1/2 cup orange juice (I used the juice of about 1 orange)
1/3 cup of sugar
Place poppy seeds and milk into a heavy sauce pan and heat just until it begins to come to a boil. Set aside for about 15 minutes or so to cool.
Preheat oven to 350 degrees F. Butter and flour a 10 inch tube/bundt pan.

In a bowl mix together the flour, baking powder, baking soda and salt. Set aside
In another bowl cream the butter then add the sugar and beat until fluffy. Add eggs one at a time, beating well after each. Add in the vanilla and mix well.
Add the flour alternately with the milk/poppy seed mixture beginning and ending with the flour. Once well mixed add in the lemon juice and lemon rind. Mix well. Pour into the prepared pan. Bake for about 40 minutes or until the tester comes out clean. Cool and then put onto a platter.
Mix together the orange juice and sugar and heat just until the sugar is dissolved. Once the cake is cooled pour the glaze over the cake (I poked little holes everywhere in the cake so that the glaze could sink in).
Subscribe to:
Posts (Atom)
About Me

- Wanda Thorne
- St Michael's Choir School is celebrating it's 75th anniversary year of service to St Michael's Cathedral. Part of the school celebration is a trip to Italy where our boys from Grades 5 - 12 will be performing and celebrating Mass. This blog will be chronicling our adventures. Wanda Thorne is the Vocal Coach at St Michael's Choir School. Gerard Lewis is the Grade 7/8 Homeroom teacher at the Choir School.
About Me
- Wanda Thorne
- St Michael's Choir School is celebrating it's 75th anniversary year of service to St Michael's Cathedral. Part of the school celebration is a trip to Italy where our boys from Grades 5 - 12 will be performing and celebrating Mass. This blog will be chronicling our adventures. Wanda Thorne is the Vocal Coach at St Michael's Choir School. Gerard Lewis is the Grade 7/8 Homeroom teacher at the Choir School.
FBC Member

